Blog

Here we host info on our other products, additional photos, and progress on our jobs. We are continually updating our site, and have yet to include all of our products. Please check up on this page, email, call,  or visit our showroom to see our products! 

Smooth and clean

Having been in the glass business for over 80 years, we have had the pleasure of doing some truly unique and difficult enclosures. However, there is something to be said about a relatively simple enclosure coming together smoothly and finishing with a gorgeous look. It is a great way to showcase our motto and for us to admire our process, from A to B to C,  internally. 

Below are some examples of recent work where we were able to make something simple in design look elegant and methodical. 

Regency series enclosure using Starphire glass with a non-operable transom. Please note the sloped ceiling.

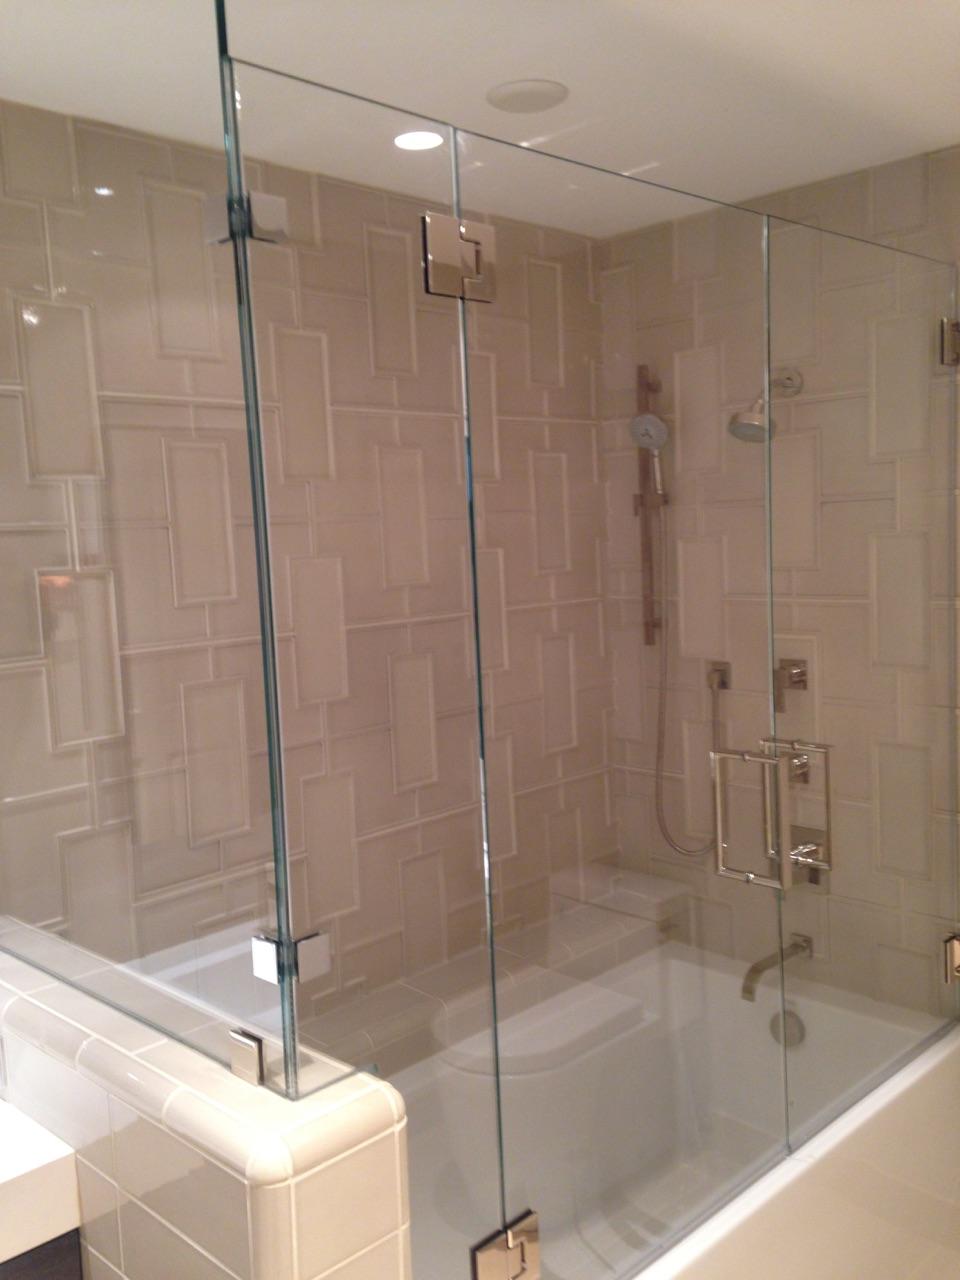
Standard clear Regency series enclosure with channel, pivot hinges, and three in-line return panels. 

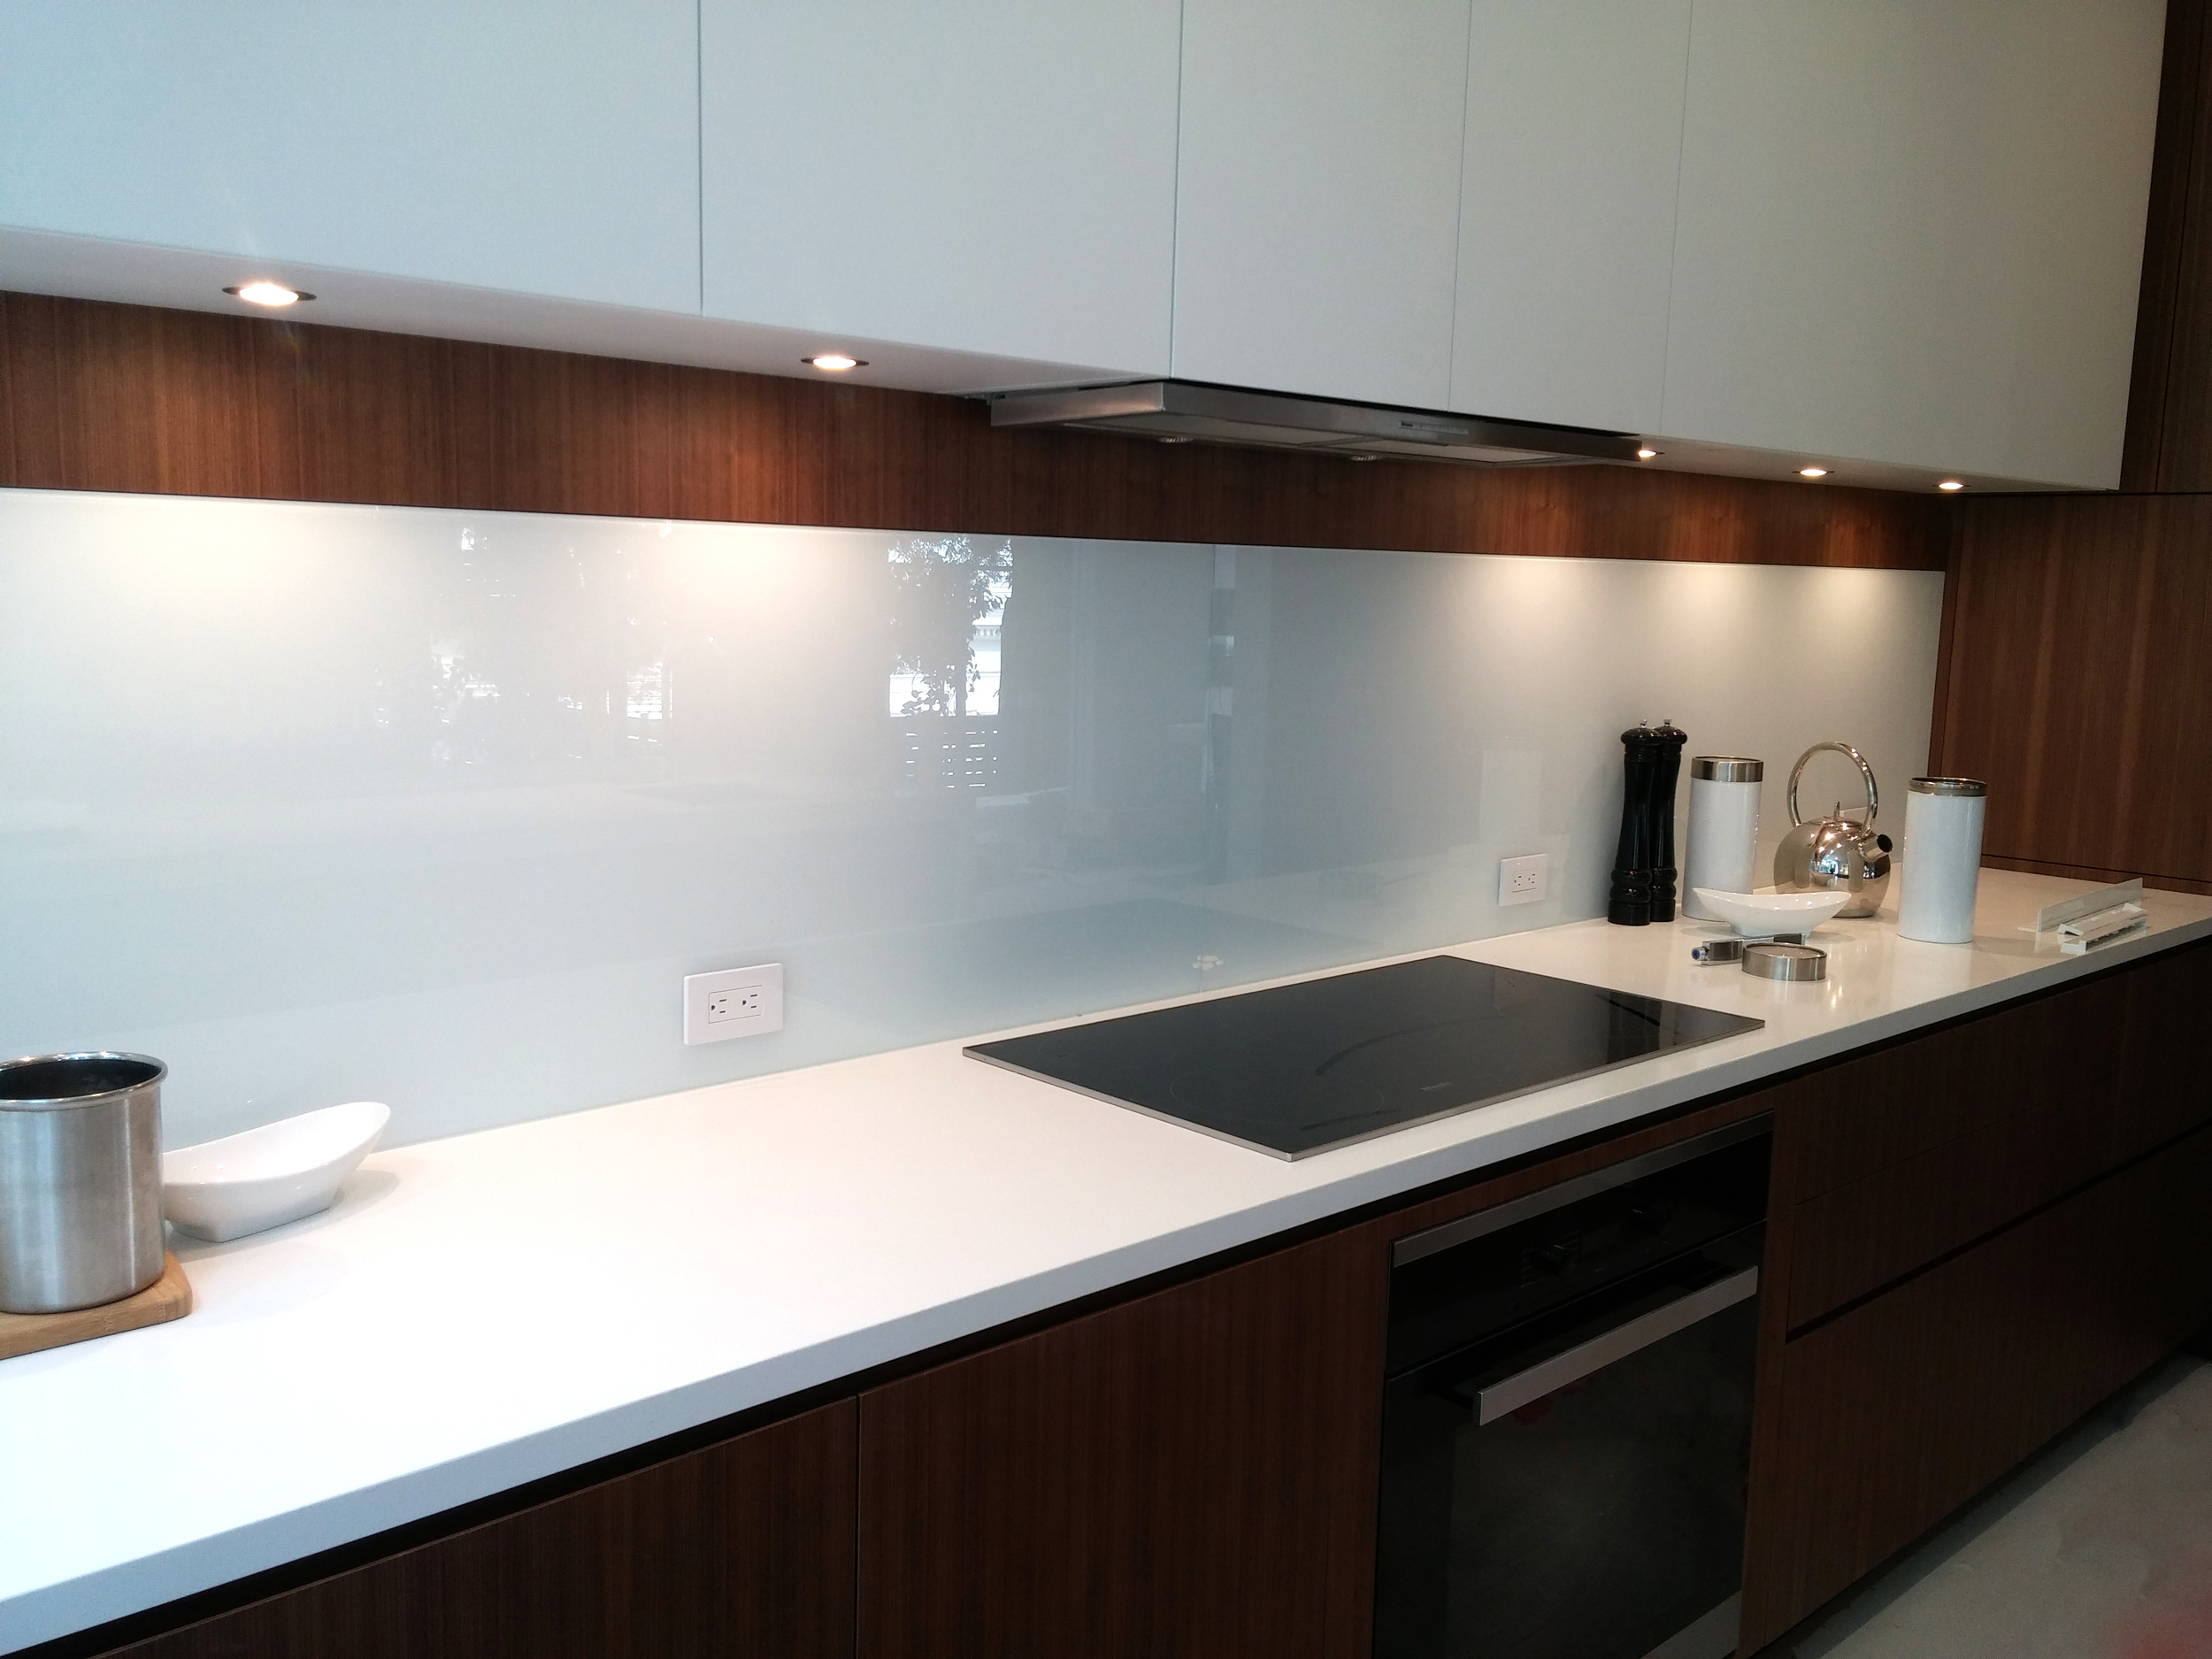
1/4" mirror back splash with mirrored outlet cover plates. 

As always, please feel free to look at our workour other products, or contact us!

No Paint, No Gain

Over the past several months we have been getting tons of calls asking for painted glass. There must be something in the air because I have personally done 3 this month alone. You can see in our gallery this isn't new territory for us but we keep getting surprised with new and interesting applications. Below is a job of mine where we did several painted glass boxes for the bathrooms and wet bars.

Painted glass niche.

Painted glass niche.

Painted glass niche.

Painted glass niche.

Painted glass kitchen back splash.

Painted glass kitchen back splash.

In order to maintain the color and have it not be obscured with a tint we use 1/4"-1/2" Starphire glass. 1/4" is typically used in back-splashes and boxes whereas the thicker glass is used for painted glass walls, table tops, and dividers. 

The entire process is as follows:

  1. We first do our Free Estimate and take our measurements.  
  2. A quote is then prepared and emailed along with a photo or physical sample of the requested color. 
  3. Once a go-ahead is given, we order and dry fit the annealed glass. 
  4. If all is well, we send it out to be tempered and then painted. 
  5. We install the glass.

The whole process is different from our normal 7-10 business day lead time. It takes 4-6 weeks depending on scale. 

As always, please feel free to look at our workour other products, or contact us!

preparation is crucial

Whenever we do a job, we do all that we can to ensure the unit goes in the first time. It requires a lot of preparation and the proper set up to make that happen. I was fortunate to receive this job from Bay Marin Construction that required me to use my creative skills and knowledge to make sure a relatively simple Regency 90 degree unit with saloon doors fit in very unique tile. 


The first image shows the tile is actually two parts: The main piece and a rectangular one in the center. The contractor and I had managed to come up with pushing the center one flush with the raised portion of the tile to make sure the glass had no gaps against the wall.  

After all was said and done, there was a rush to get this unit in. Luckily Alicia, our head of scheduling and miracle worker, made sure to get this unit in as soon as possible. The home owner had a large house warming party and our shower had to be in. Thanks to the proper preparation, attention to detail, and the extra mile, Junior & Sergio installed this unit without flaw.

In the end, it came out beautiful. Utilizing 3/8" and 1/2" Starphire glass, the unit ties everything together and shows off the unique tile. 

As always, please feel free to look at our work, our other products, or contact us!